Sunday, December 15, 2013

Baby Brother


This is a photo of my baby brother, my Dad, and my Granny.
Today is my baby brother's birthday and these are photos through the years.
Happy Birthday Jimmie Wayne...Love you!

We have aged a little...lol


Saturday, December 14, 2013

Pine Cone Angel

Pine cones and spray paint! Two of my favorite things. Simple child friendly crafts can be made from a painted pine cone and a couple other items. My grandson loves to make things, and he loves it when I make up something new for him to do. First I make a "pattern" project for him to look at and then I put all the things he will need to make his own in a zip lock bag. He thinks it is awesome to have his "kit" to take home, for him and his mother to do the craft. Makes me laugh...his mother is not my artsy crafty child!

This Angel is made from one pine cone spray painted white. One cotton ball for the head, one pipe cleaner cut in two pieces to make the halo and hands, four feathers for the wings and some Elmer's glue. How simple is that?
Just glue the cotton ball on top of the pine cone, glue the pipe cleaner circle on top of the cotton ball for the halo, twist the other part of the pipe cleaner around the body and fold the ends to make "hands," glue the feathers down in the back of the pine cone to make the angel's wings.
Besides entertaining me...with the thought of my daughter helping my grandson make this pine cone angel....these angels can be used for place card holders at a dinner party. I just know Sandra Lee, from Semi-Homemade on the Food Network, would make an entire table scape with an angel theme, if she had this angel! You could also attach a hanger and hang them from the Christmas tree, or place next to a cute little Christmas decoration, or make several and attach them to a wreath.

The main thing is to lighten up and have fun doing something inexpensive.  Not all Christmas decorations need to be from the expensive designer section!

Friday, December 13, 2013

Friday Foto

It is the little things in life that make it so much fun.
On this day my Great Granddaughter picked out her nail polish colors.
I painted her nails and added little flower nail decals.
You can tell by the smile she loved them.
I think this is one of those ... a picture is worth a thousand words!

Thursday, December 12, 2013

Pat's Biscuits Made from Scratch-not mix-not canned!

My friend Pat in Arkansas makes the best scratch biscuits. I ask her if she would take photos and send me the instructions for her biscuits. I was extremely lucky that her daughter had been wanting her to make some too! So these are the photos and instructions by Pat, that I want to share with you. My biscuit recipe is to whack the can on the edge of the cabinet, take out the biscuits, place on baking pan and bake. That is why I ask Pat to send hers!
2 cups all purpose flour
2 ½ teaspoons baking powder
½ teaspoon salt
1/3 cup shortening
¾ cup milk
Mix all the dry ingredients together and stir well. I think this mixes them more evenly. Next, cut shortening into dry mixture. Then stir in the milk and mix until you have a ball of dough.
Turn the dough out onto a floured surface and pat out until it’s about ¾” thick. Use a round biscuit cutter (a glass with a thin edge works just as well) to cut the biscuits. Mold the scraps back together, flatten and cut until you have used all the dough.
Place them in a baking pan either greased or sprayed with a non-stick cooking spray. Notice the baby biscuit? That’s the end of the dough – I always made a baby biscuit especially for my daughter!
Bake in a 375 degree oven until they are golden brown – about 20 minutes.
Ok, so maybe this was not a good idea....see these now I really want some of her biscuits....but it is a five hour drive :(              OH!...bright idea....I will share this recipe with my husband :)   Wink!

Wednesday, December 11, 2013

Christmas Tree Craft

Today is my birthday. For as long as I can remember my Mother always put our family Christmas tree up the weekend around my birthday. There were a couple of times she changed the schedule a bit. The year my brother was born we put up the tree a little early. He was born on December 15. Another time was when my sister was going through chemo and Mom decided to put her tree up while I was home....it was October! None of this has anything to do with this Christmas tree craft project of today. It is just that Christmas trees evoke memories and thoughts about them.

Today's Christmas tree is tiny enough you can sit it on the corner of your desk or other small place that needs a little Christmas decoration. It is a tree that children can have fun decorating on their own. First just spray paint a large size pine cone green. The green spray paint I had on hand was not exactly Christmas tree green, but it was ok. After the pine cone has been painted and the paint is dry. Glue on beads or other tiny decorations to make the tree festive. You can even carefully spray with the artificial snow or use building caulk to dab a bit of "snow" on the tree. I used a larger bead for the topper.
I could not decide which side of the tree looked best. I took a photo of both sides of the tree.
You can also sit the tree on some fluffed up cotton balls or on top of a pop bottle cap for a base. A pine cone tree can also be a craft project for children to give their parents. It can be a Christmas party place card holder or tiny table decorations. Mostly it is just a fun project.

Tuesday, December 10, 2013

Melissa's Peppermint Pie

Melissa's Peppermint Pie

8 ounces peppermint candy the soft kind
1/2 cup whipping cream
plus
1 1/2 cups whipping cream, whipped
1/4 cup cold water
1 envelope plain gelatin
1 chocolate cookie crust (store bought)

Soften gelatin in water, set aside. Put half cup whipping cream in small sauce pan with candy and cook over low heat until candy melts. Add gelatin, mix well. Let cool and fold in whipped cream. Pour into crust and chill.  So easy and so good!
Melissa made the pie and Kennda decorated the top with canned whipped cream and peppermint candies. These soft peppermint candies are my favorite, so I really loved this pie.

Monday, December 9, 2013

Sausage Cheese Balls

I love Sausage Cheese Balls. They are so easy to make and can even be frozen to use later. Preheat the oven to 350 degrees. Spray or lightly grease the bottom and sides of a cookie sheet. Mix all ingredients together, I use my hands. Shape mixture into 1 inch balls and place on the cookie sheet. Bake for 20 to 25 minutes or until lightly browned. Serve warm.

3 cups Original Bisquick mix
1 pound bulk pork sausage - I prefer the hot kind
4 cups shredded Cheddar cheese (16 ounces) the Mexican blend cheese is good too
1/2 cup grated Parmesan cheese or Swiss cheese
1/2 cup milk

Ready for the oven
You can also add 1/2 teaspoon dried rosemary leaves, crushed and 1 1/2 teaspoons chopped fresh parsley or 1/2 teaspoon parsley flakes, but I leave out the spices. I did add some garlic salt to the batch I made this time. As you can tell I change the recipe depending on my mood or what I already have in the frig. Mine made 58 balls, but of course they are not all the same size even though I tried. They are the best fresh out of the oven! I put them in a plastic bag and then reheat for a few seconds in the microwave.

Cooked and ready to eat!!!

Sunday, December 8, 2013

Legend of the Silver Pine Cone

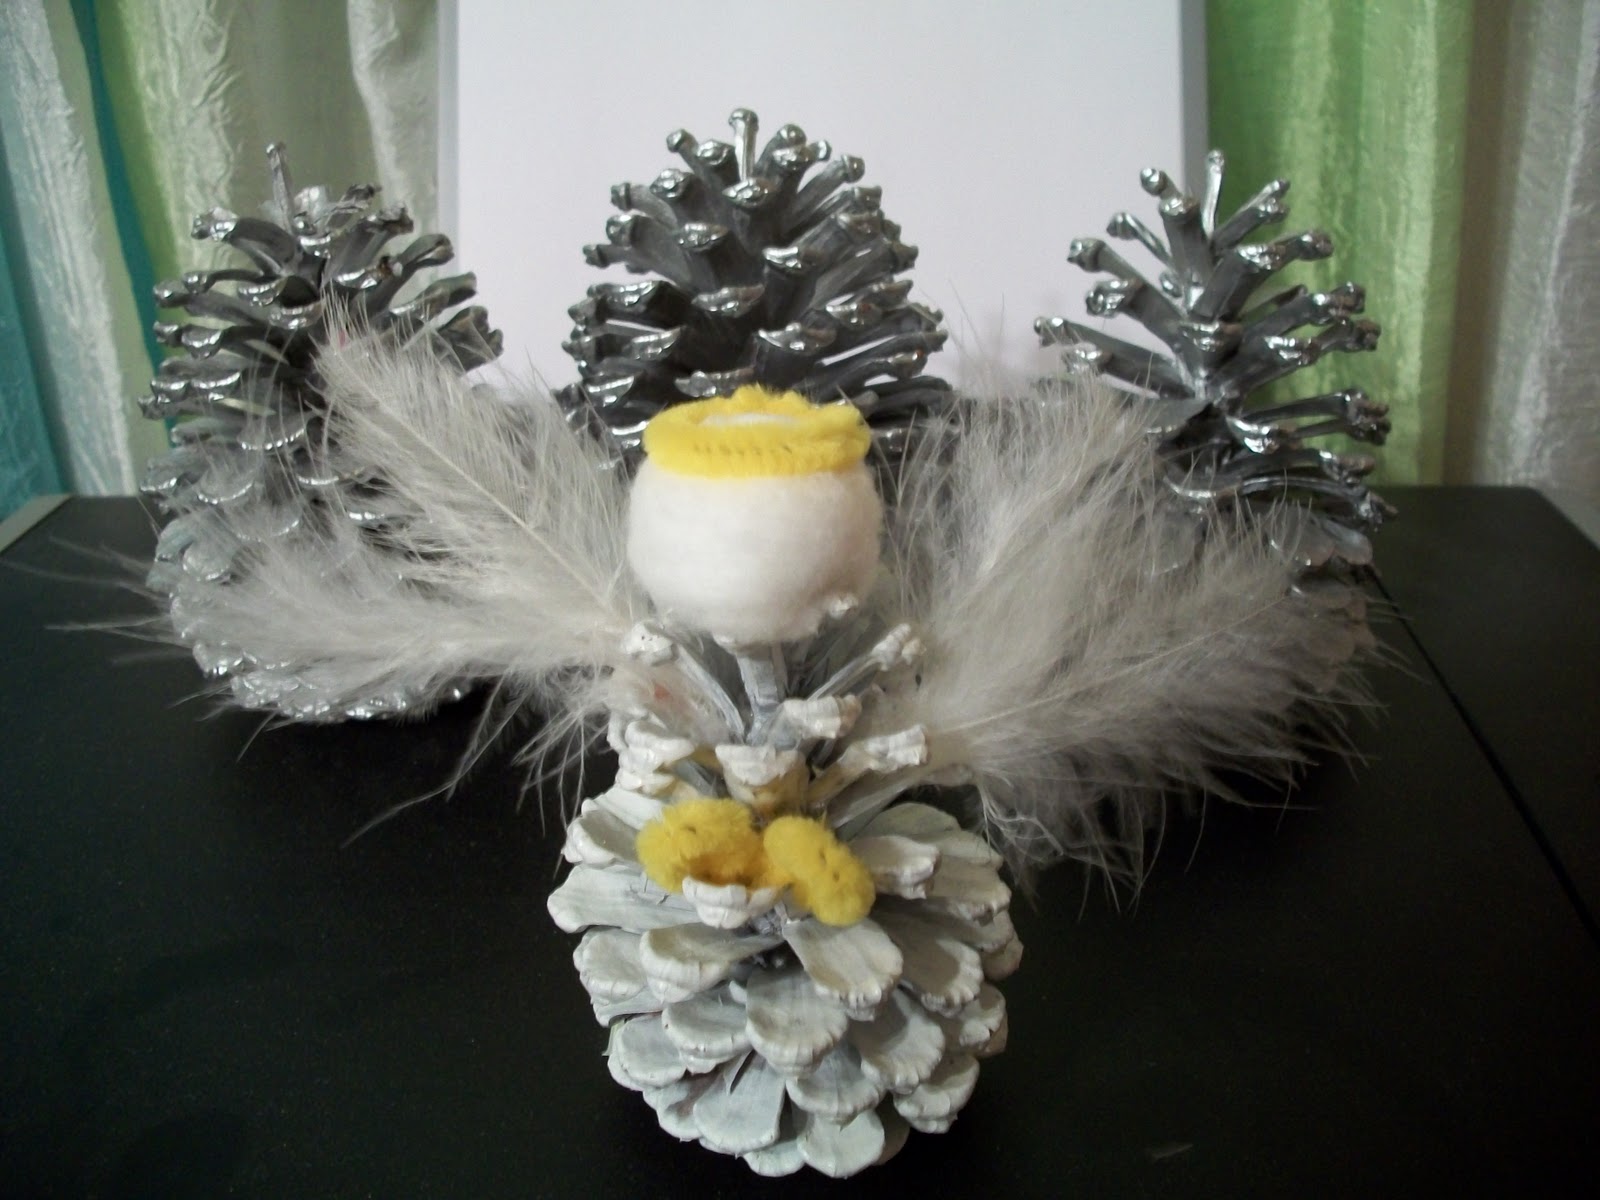
I have posted this before but I love to share the legend...Go find some pine cones and spray paint them silver and attach a copy of the Legend of the Silver Pine Cone to give as gifts or tie on top of a gift you are giving. We have also made these to give out in the classroom at Christmas. Silver Pinecones are suppose to be very lucky. We all need a little extra luck these days.

(these look gold in this photo but they are silver!) 
(check this out...same pine cones...different color fabric made them the silver color)
THE LEGEND OF THE SILVER PINE CONE

There once lived a poor family without enough food to eat or enough wood for their fire. The mother decided to go into the forest to search for pine cones. She was planning to use the pine cones to build a fire for her family, and she was also hoping she could sell some of them to get money to buy food.

After walking for hours, the mother finally reached the forest and started gathering pine cones into her basket. Suddenly, she heard a voice say, "Why are you stealing my pine cones?" with that, an elf appeared beside her. She explained her sad story to the elf. With a crooked smile, the elf said, "Go into the next forest. The pine cones there are much better."

Hesitantly, the mother set off to the next forest, which was even farther away. When she reached it, she was very tired. She leaned against a tree and sat her basket on the ground. No sooner had she set down her basket, and dozens of pine cones started falling to the  ground.

Filled with renewed energy, she gathered all the pine cones into her basket and returned home. Exhausted, she set the basket on her doorstep. When she looked down at the basket of pine cones, they had all turned to silver!! The family would never be poor again.

(these are silver too! how crazy...it is the green fabric I put them on for the photo)
(photo using flash and they look almost white)

According to legend, it is customary to keep one on your dresser and desk. And a basket of them on the mantle of the fireplace.

Saturday, December 7, 2013

Corn Chip Chili Pie


Winter is the time of year I crave corn chips and chili. Must be from football and basketball games when we got a bag of chips cut down the side, chili poured on top of the chips and served in the bag! This is my take on Corn Chip Chili Pie. Pour corn chips out into a paper bowl...no trying to get the chili washed out of a real bowl this way. We have found that we love the Always Save brand of corn chips. They are less expensive and seem to have less oil.


I am making supper so this is a BIG corn chip chili pie for two. Remember my husband is THE COOK and makes the really good stuff. Next take a can of your favorite chili and pour 1/2 a can over each bowl of corn chips.


This is optional, but my husband and I use onions with everything! Chop onion and add on top of the chili. You can make your pieces a bit smaller than I have made these if you prefer. We have wore out our onion chopper, so I chop bigger pieces when I do them by hand. Sometimes I add jalapeno peppers too.


This step is precise measurement....LOL....dump out a mound of your favorite cheese on top of the pie. I used Mexican cheese because that is what I had on hand. Justin Wilson, the original television cook, said "you use what you got." When my granddaughter was a toddler, she and my husband would wake up before everyone on Saturday mornings. He would fix her breakfast and they would watch cartoons until everyone else got up. One time he was gone on a trip and I got up with her to watch cartoons. After flipping through the known cartoon channels and her throwing a hissy fit that was not cartoons! I flipped one channel at a time...she yelled that's it when Justin Wilson came on the screen. So, all that time she and her Poppy had been watching Justin Wilson NOT cartoons. She still does not like to watch cartoons to this day.


Back to the corn chip chili pie. After you put the cheese on top, microwave the pie for a minute or minute and a half. If you want to burn your tounge you can cook it for two minutes...don't ask how I know! The cooking time depends on the watts of your microwave. Cook until the cheese melts on top.


I generally serve the corn chip chili pie with a big glass of milk...my husband has to have his milk with three cubes of ice in it. And I also have extra strength antacid tablets on hand for later. At any rate this is so wonderful in the winter for a quick inexpensive meal.

Friday, December 6, 2013

Friday Foto

 Unless it is a close up like this or if I see his smile it is hard to pick out our Grandson among all these guys with sunglasses and dressed alike...but we were in luck this time...got a close up and his smile and he was holding the flag! Glad when he gets home from Afghanistan!!


Thursday, December 5, 2013

Mac N Cheese with Broccoli and a twist of flavor!


Mac N Cheese with Broccoli and a twist of flavor:

8 ounces uncooked large elbow macaroni
  • 2 cups chopped broccoli florets
  • 1 1/2 cups 1% low-fat milk
  • 2 tablespoons all-purpose flour
  • 1 teaspoon chopped fresh thyme
  • 2 teaspoons Dijon mustard
  • 2 teaspoons Worcestershire sauce
  • 1/8 teaspoon salt
  • 1 center-cut bacon slice, chopped
  • 1 1/2 teaspoons unsalted butter
  • 4.5 ounces reduced-fat cheddar cheese, shredded (about 1 cup)                
  •  
  • Cook pasta according to package directions, omitting salt and fat.
    Add broccoli during the last minute of cooking; cook for 1 minute. Drain.
    Combine milk and next 5 ingredients in a medium bowl, stirring with a whisk until smooth.
    Heat a large skillet over medium-high heat.
    Add bacon; cook 4 minutes or until crisp.
    Add butter to pan; swirl until butter melts.
    Add milk mixture to pan; bring to a boil.
    Cook 1 minute, stirring frequently.
    Stir in cheese.
    Add pasta mixture to pan, stirring to coat.

    "Oh the Places You'll Go" school concert

    Stripe or bright colored shirts and funny hair if you wish...
    directions for "costume" for the grade school concert.
    They were presenting "Oh the Places You'll Go" by Dr. Seuss
    as the students played music, danced and sang for an evening of fun.
    Our sweet Grandson was just adorable!
    I took these snapshots of the event.


    Tuesday, December 3, 2013

    Crock Pot Holiday Queso

    Crock Pot Holiday Queso

    Ingredients
    1 block (32 Oz. Block) Velveeta Cheese
    1 package (8 Oz. Package) Cream Cheese
    1 can (10 Oz. Can) Rotel Tomatoes
    1 can (10.75 Oz. Can) Cream Of Mushroom Soup
    1 pound Ground Beef OR Sausage
    1 Green Onion (Optional)

    Instructions
    Brown ground beef or sausage (or both) in a pan over medium heat and set aside.
    Cut up the Velveeta and cream cheese into cubes and place into a crock pot.
    Pour in the Rotel and the cream of mushroom soup and stir ingredients together.
    Place the crock pot on low setting for an hour, letting the flavors combine well.
    After about 30 minutes, add the browned meat and continue to let cook, stirring as needed.

    Monday, December 2, 2013

    Gathering Pinecones

    We had a fun time this past weekend gathering pinecones with our grandson.
    It was a free activity, we got to enjoy the fresh air and
    will be able to use the pinecones later for craft projects.
     

    Sunday, December 1, 2013

    Holiday Projects at Suzy's blog

    If you want to get patterns to make amazing holiday projects you need to so to Suzy's Artsy-Craftsy Sitcom blog site. Suzy is the most talented blogger ever...she can create such beautiful things out of inexpensive items. Now is the time to get your Christmas gifts made and with Suzy's ideas and patterns you can do it!!!
     

    http://suzyssitcom.com/2013/11/12-most-popular-holiday-projects-from-the-sitcom.html


    Below are just some of the neat ideas Suzy has for gift giving.
    You will have to check out the rest on her blog!